先安装openssl!再安装gmssl!
先安装openssl!再安装gmssl!
先安装openssl!再安装gmssl!
为了让这两个东西共存
近日折腾良久,虚拟机快照回溯了无数遍
最终得出结论:gmssl这项目是真不行(
0. 背景介绍
TLS协议分析 与 现代加密通信协议设计 - Tech Explorer (helong.info)
1. openssl 安装
1 | sudo apt-get install openssl |
安装好后输入
1 | openssl version |
检查是否安装成功:

2. gmssl安装
进入
https://github.com/guanzhi/GmSSL
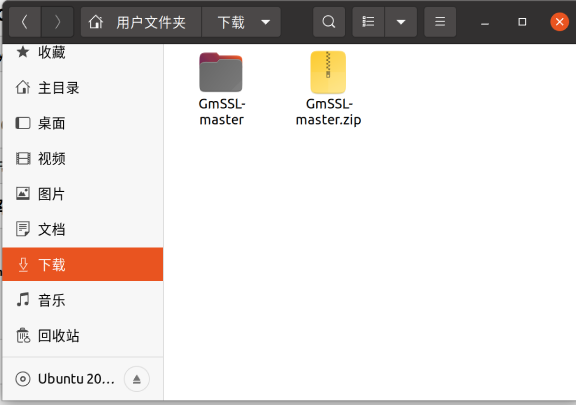
把整个项目download下来
然后解压、进入相关文件夹:
1 | unzip GmSSL-master.zip |

用文本编辑器打开文件Configure:
1 | vim Configure |
把第18行改为:

(多加个冒号)
保存并退出
然后
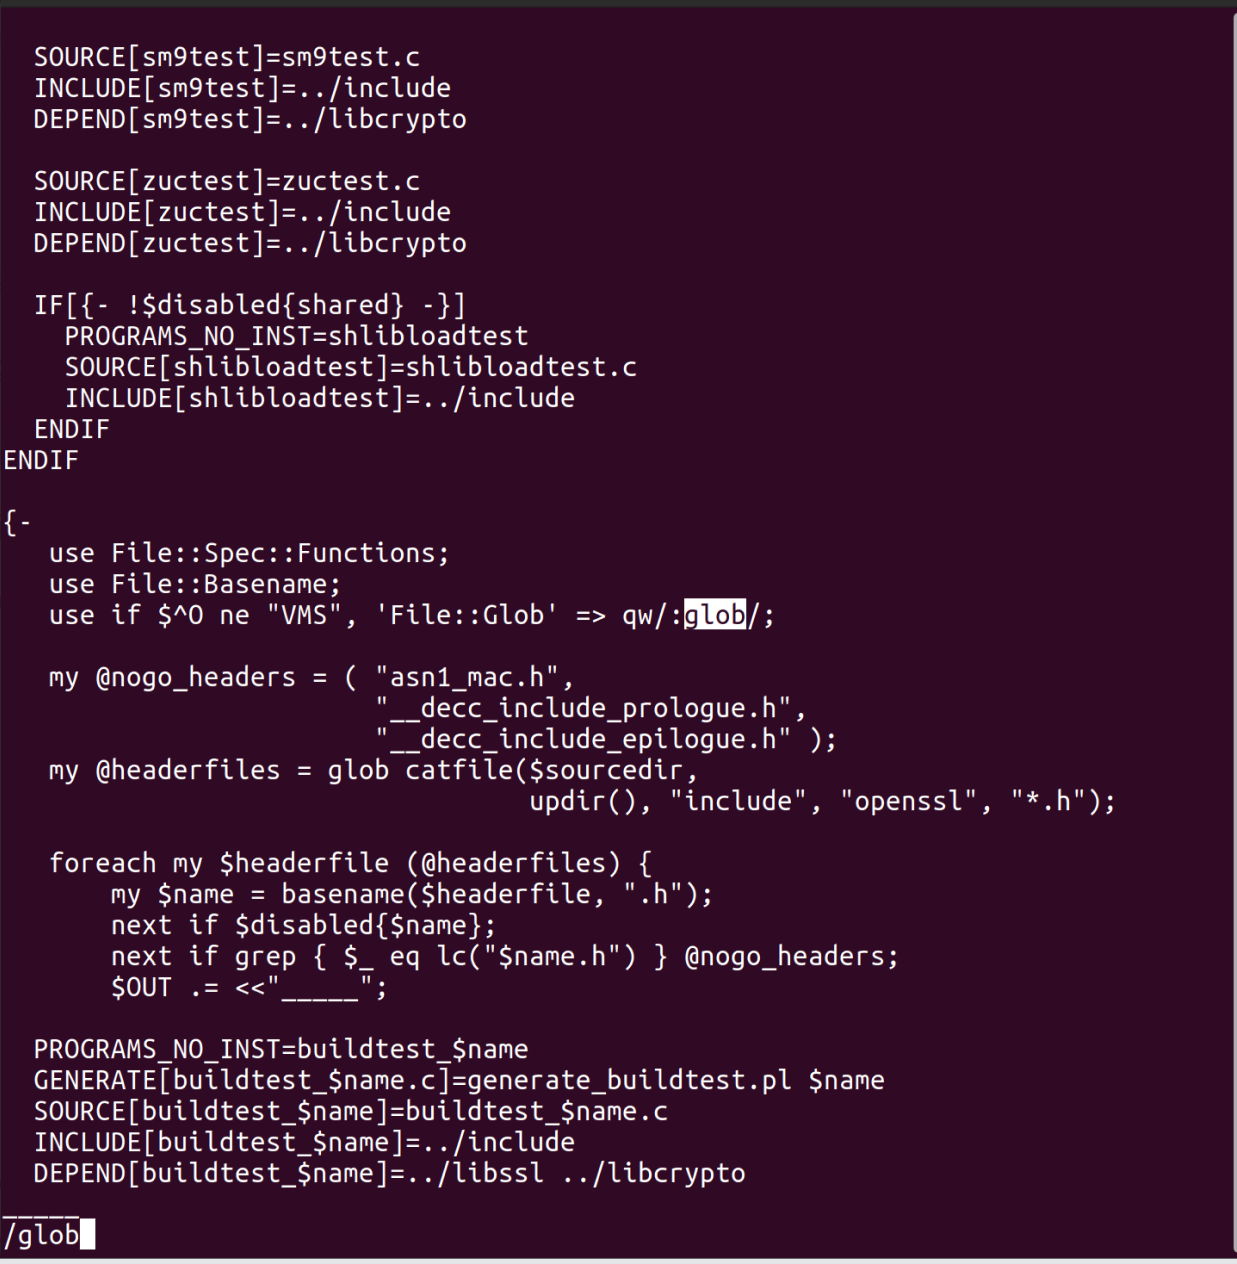
1 | cd /test |
如法炮制:

返回GmSSL-master目录
1 | ./config --prefix=/usr/local/gmssl no-shared |
最终效果:

